How to individually color FACES or surFACE patches of your Egghead


  1. On 02/25/Wednesday afternoon a student sent email asking how you can change the color of the eye sockets. It turns out that you can select faces, also known as Surface Patches for NURBS objects.

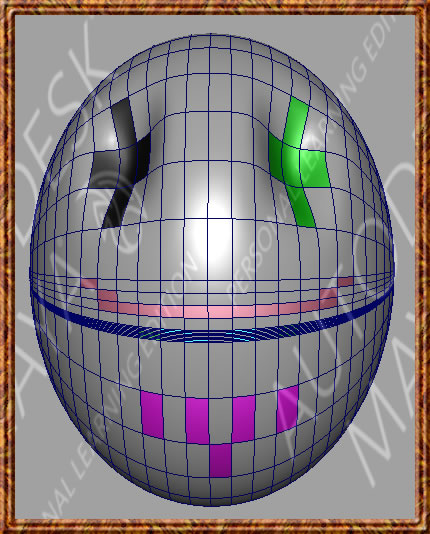
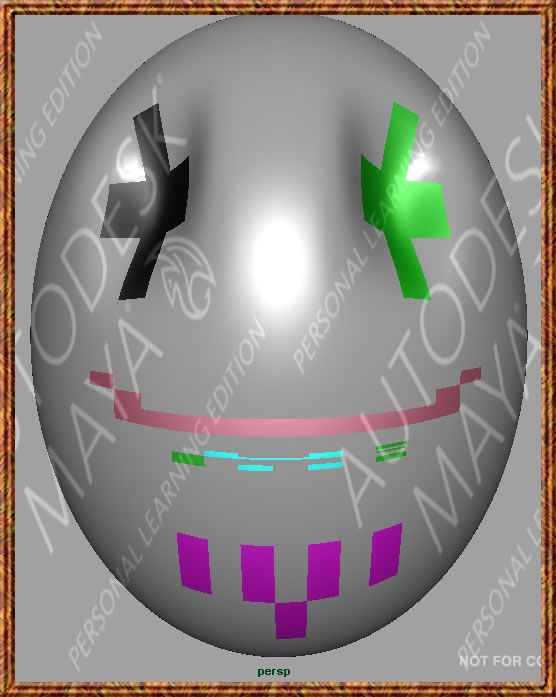
    Using the H O C buttons, choose C for Component mode selection. Then choose Faces as the type of Component you wish to be able to select. Hold down the Shift Key to select additional Faces (Surface patches). When you have the collection of faces selected, you can then do Assign New Material and pick a different color for those selected faces. Click the Color Swatch and you will see the Color dialogue box.

  2. In the above example, I selected two different ISOLPARMS and then you can do the Edit NURBS > Insert Isoparms command. See the Sculpting a Mouth portion of the Learning Resources  > Tutorials  > Getting Started with Maya >  NURBS Modeling >  Lesson 2: Sculpting a NURBS surface > lesson available with Maya through the Help menu or available online at autodesk.com.


  3. Edit NURBS > Sculpt Geometry Tool option box is the Surfaces menu set command you will need to do to get to the Sculpt Geometry tool. There is a Stroke group of options in the Sculpt Geometry tool settings choices. You can set this to Reflection by checking the checkbox for Reflection and then choose which AXIS you want to create symmetry across by choosing the appropriate Reflection Axis: X or Y or Z. This is explained in the tutorial help for Lesson 2: Sculpting A NURBS surface.

  4. The Sculpting a NURBS Surface assignment resources page has examples from Fall 2008 and further resources. The assignment is due by 10 p.m. on Thursday, February 26th. Just email the scene file as an attachment to jacobson@cs.uni.edu when you get it done.