- Javascript:
Two Lamps Slideshow of Examples: See
the magnificent seven Maya Renders to help you understand the two
lamps, baseball bat, wine glass assignment.
- Examples of a lamp made up off all Polygonal Cubes, except for the
NURBS Cone that encloses the Spot Light. Also shows Textures on the
floor, and having a side wall made up of a Polygonal Plane.
Parent/Child hierarchy of 8 object:
SIX Polygonal Cubes, ONE NURBS Cone, and ONE Spot Light. 5 different
renderings, some with shadows. No Polygonal Cylinders in the LAMP. No
NURBS Sphere in the lamp.
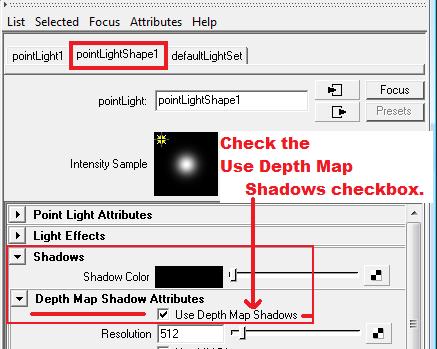
- How do you set a light to show SHADOWS in Maya?
Here is a screen snapshot showing
setting of shadows to ON. It is the
Attribute Editor, not the Channel Box, to get to the Lights shadow
setting. The screen snapshot was creating using the Paint program, not
using Photoshop. The Windows Paint program comes with Windows and is
still found in
the Accessories group, even for Windows Vista.
Leon and his pet,
Earl-the-squirrel from the short animated movie Moongirl, with
suitable allusions to another famous movie character, Mr. Staypuft.
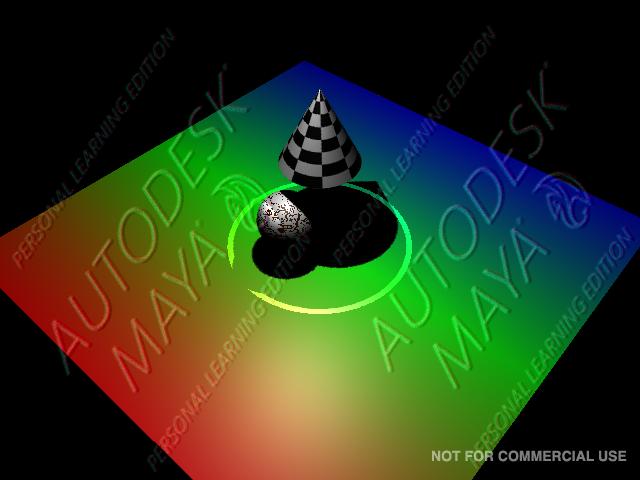
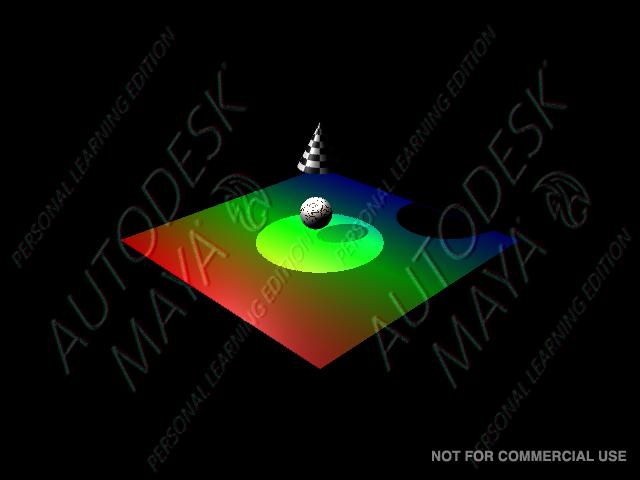
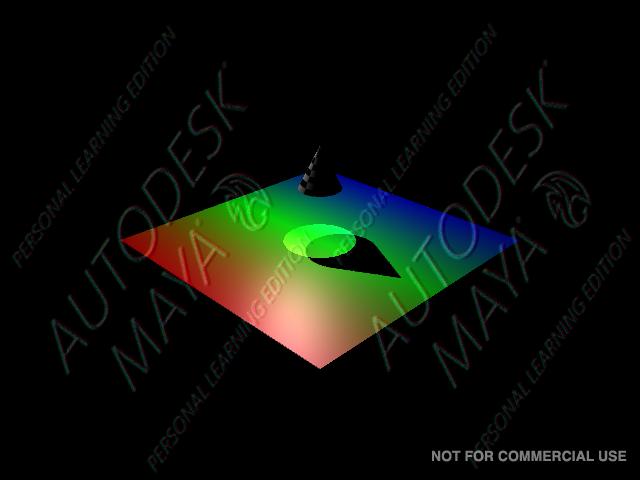
- Three examples that light objects with Textures. Floor has a rainbow
texture and the lamp cone has a checkerboard texture.
Example One.
Example Two.
Example Three.
Uploaded to sunny.uni.edu example from Friday morning class:Oct3rd.jpg Saved as JPEG
rendered scene. Notice the URL when you are looking at this Oct3rd.jpg
JPEG image. Replace jacobson with your own UNI USER ID and you can look
at your own jpeg from today's class. Oct3rd.jpg is NOT the same as
oct3rd.jpg to the sunny.uni.edu web server. The server is CaSe SeNsItIvE!
- This graphic was a handout in the last class in September (Monday
09/29). It is much improved and via the miracle of Photoshop colorfully
shows you the Point Light, Spot Light,
Render Current Frame, and Use All Lights command from the Lighting
menu and which menus are part of FEMCDW and which are part of the
Panel menus for the Top, Side, Front and Persp View Panels.
VIP Note: It has been improved and enhanced since handed out in
Monday, so be sure to look it over and pay attention to the PURPLE and
RED relationships.
- First Email note about the
assignment including some important tips about sunny.uni.edu and your
UNI web site URL, not to mention BICTION. Consume some ink and scratch
paper (aka consume some pencil lead and notebook paper works too).
Biction is nicer cause on INK and thINK and the fact that INK flows and
understanding GROWS rhyme.
- VIP: Do NOT forget to go back and read the main web page!
The PREREQUISITES and Further Information is
listed there in a lower-case Roman Numerals itemized list.
- Create a Luxo Lamp like the one shown above using the
Michael O'Rourke tutorial and my suggestions/improvements
for it. Tutorial and in depth 810:088
email note and Class #15 review
about the Nurbs Sphere, Polygon Cylinders, Nurbs Cone and
the Spot Light. Discussion of parenting and Freeze too.
- Create a 2nd Luxo Lamp that uses Polygon Cubes instead of Polygon
Cylinders for the arms. Have this 2nd Luxo Lamp have FOUR arms,
instead of 3 arms. Each arm will be a long, thin CUBE instead of a
cylinder. This will give you extra, extremely valuable practice with
modeling of lamps and the hierarchy tutorial skills from the Michael
O'Rourke tutorial.
- Your scene will have two lamps, each with its own Spot Light.
Interesting aside about the
Luxo Lamp and the history of 3D
computer
graphics. Lighting issue and the planning that shows up on storyboards.
Animating lights. "little Luxo", the lamp with a personality that the
animated camera helps to reveal, helps to shine forth. Michael O'Rourke
famous, widely used book on 3D Computer Animation talks about "little
Luxo".
- A wine glass will be in the scene. Position one of your lamps so it
is illuminating the wine glass and casting a shadow.
- A baseball bat will be in the scene. Position the other lamp so it is
illuminating the baseball bat and casting a shadow. The baseball bat will
be created by the Revolve technique where you Revolve a Curve to create a
Surface. It you revolve 360 degrees around an axis, it will be perfectly
symmetrical:
Create > CV Curve Tool    ( from the FEMCDW first six menus )
                    _
Surfaces > Revolve | |    ( from the Surface menu set )
                    -
We have done this in the lab before.  It will be done again in the
lab on Friday and/or demonstrated in class on Monday.

There is much more to learn about CV Curves and CVs, Edit Points and Hulls.
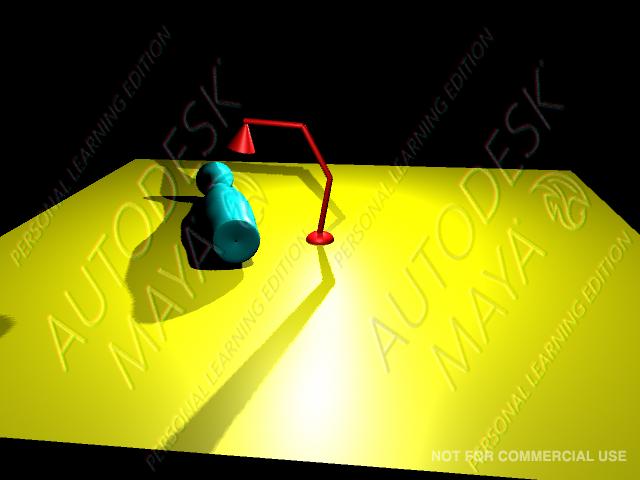
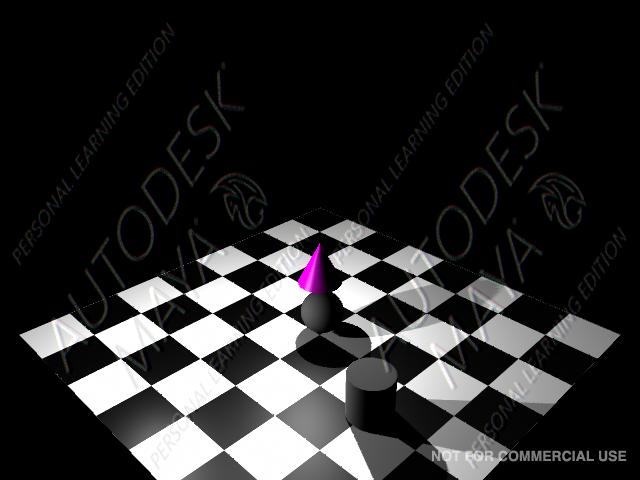
- Your scene will have two different Point Lights. Look at the two
different shadows that the RED lamp in the rendered scene below is casting
upon the YELLOW
floor. Each shadow is cast by a differently positioned POINT Light
object.
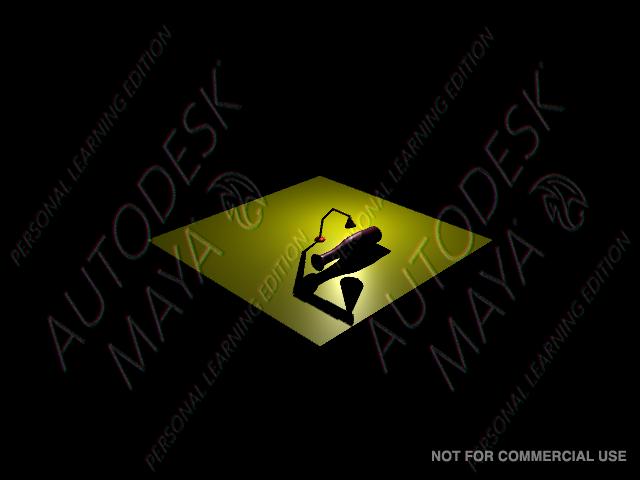
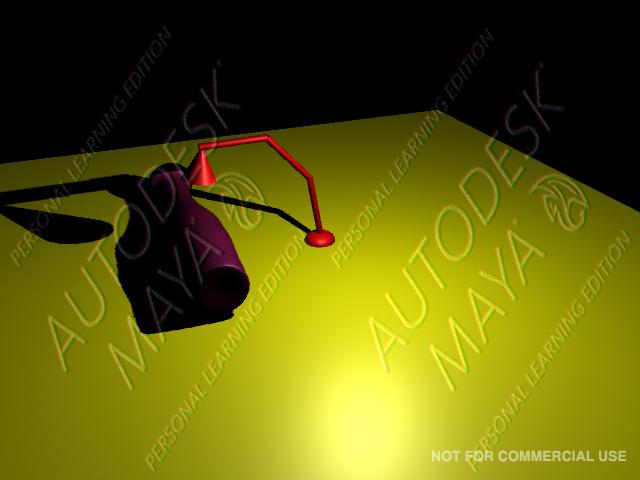
The 2nd and 3rd JPEG images below were rendered BEFORE I added a 2nd Point
Light to the scene. Thus, you only see one shadow cast by the Luxo Lamp.
- DARKEST SHADOW:
The very dark shadow cast by the TURQOISE baseball bat
(or bowling pin, if you like) is cast by the SPOT LIGHT, which is
a child of the NURBS Cone and great, great, great grandchild of the
Nurbs Sphere at the very base of that RED. Recall is is a parent-child
hierarchy of 6 different objects (Nurbs Sphere, Poly Cylinder 1, Poly
Cylinder 2,
Poly Cylinder 3, Nurbs Cone and finally Spot Light).
- Your objects will be colored. Obviously, you will have a floor,
probably a polygonal plane, that the two lamps and the baseball bat and
the wine glass are sitting on.